CrowdSec Console
The CrowdSec Console serves as a web-based interface designed for managing your CrowdSec Security Engines effectively. This console comes equipped with an intuitive dashboard, offering a comprehensive visualization of your engines' activities, thereby enhancing the ease of monitoring and analysis.
Additionally, it offers the capability to integrate enhanced functionalities, including the option to incorporate Third-Party blocklists. This feature not only extends the flexibility and adaptability of your security setup but also enables a more robust defense mechanism by leveraging external intelligence sources.
Your first Enrollment
This guide presumes you have already installed CrowdSec on your machine. If you haven't, you can check the following getting started guides:
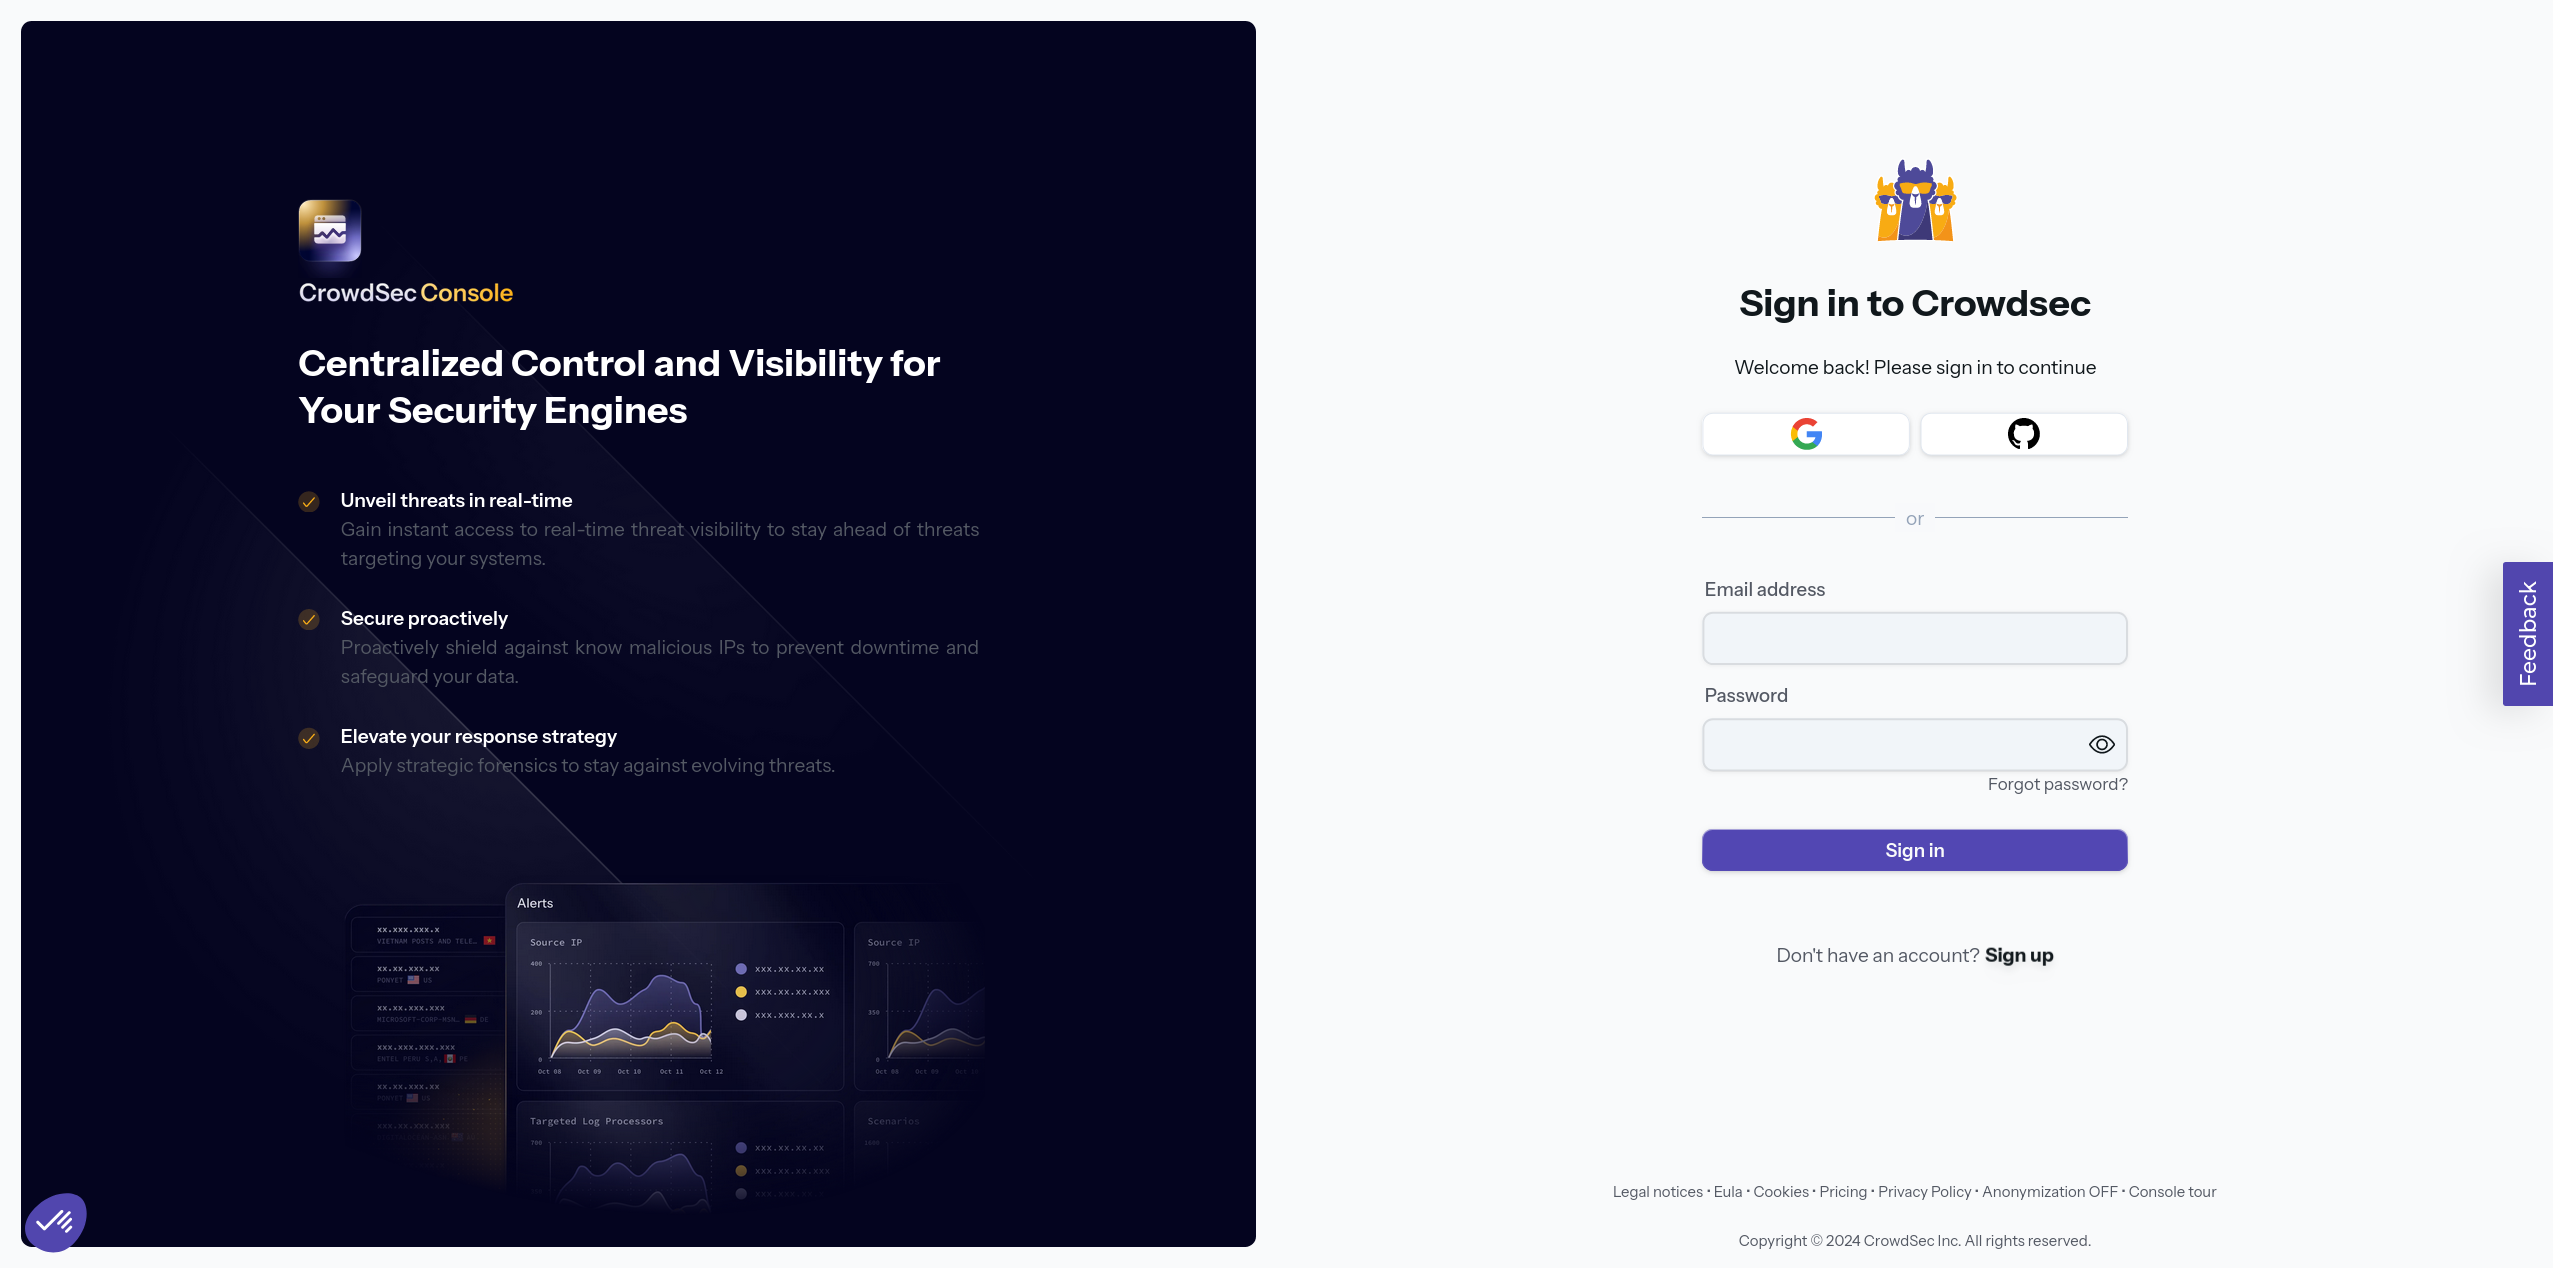
Sign Up
Head over to the CrowdSec Console and sign up for a new account.
Verify Email
After signing up, you will receive an email to verify your account. Click on the link provided or enter the code in the email to verify your account.
Missing Email?
If you don't receive an email, check your spam folder. If you still don't see it, you can request a new verification email by clicking on the "Resend verification email" link on the login page.
If more than 5 minutes have passed and you haven't received the email, please get in touch with us
Survey
When you log in for the first time, we will ask you a few questions to gain a clearer understanding of your needs and use case.
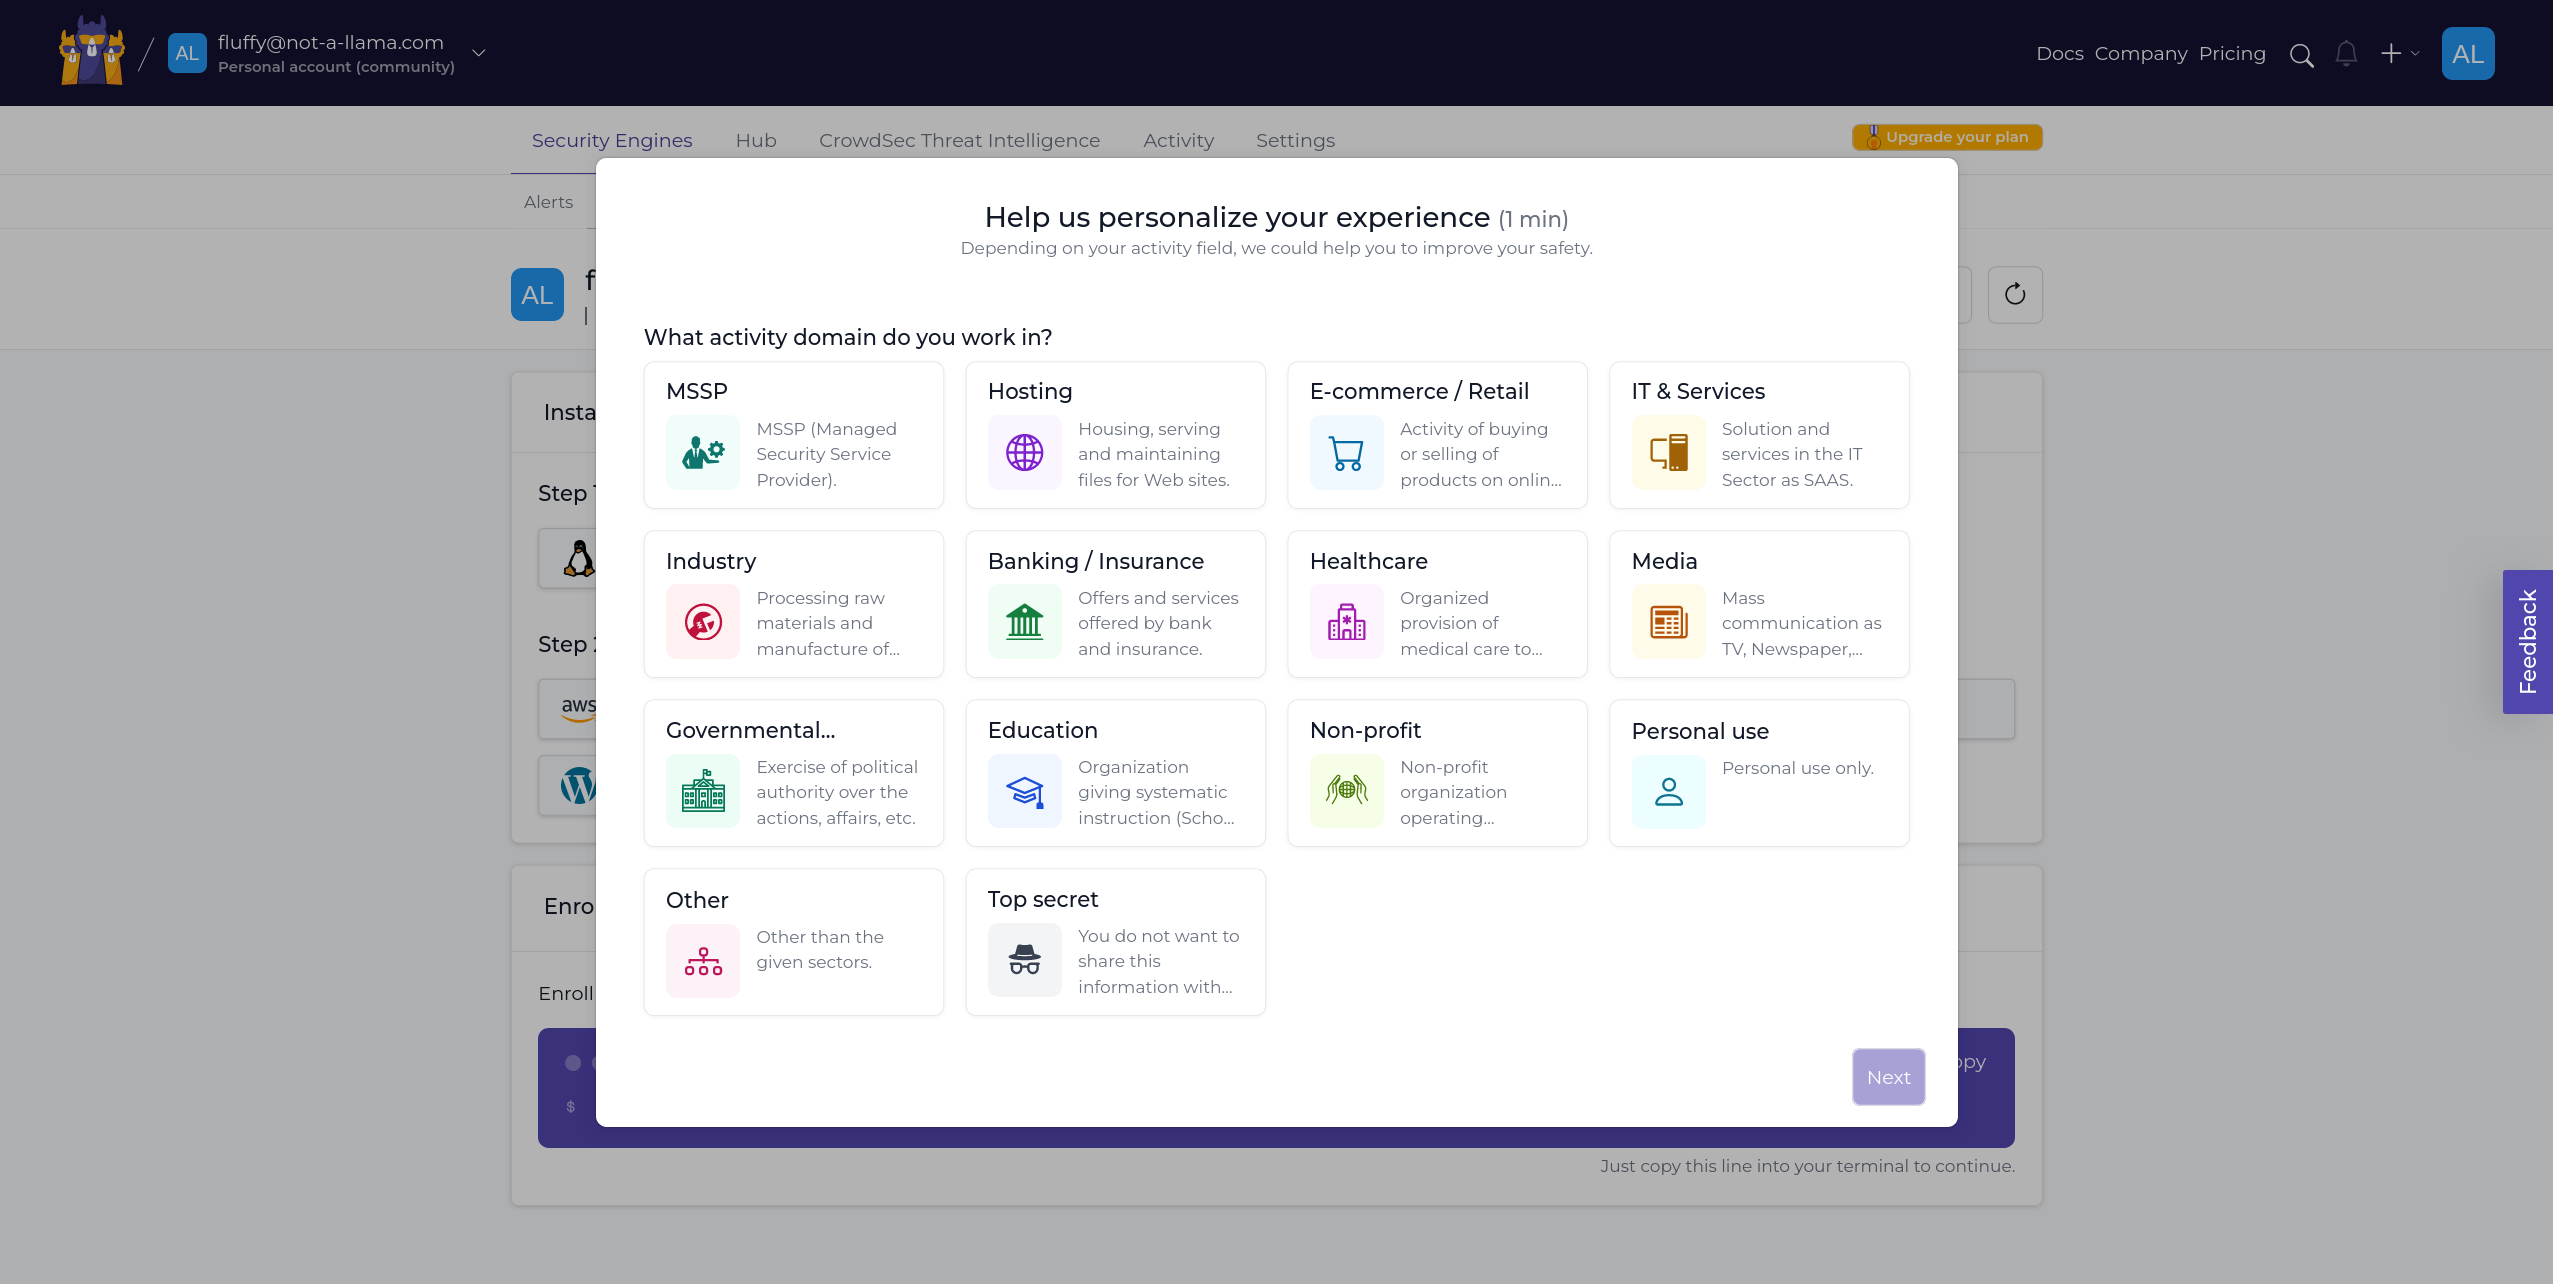
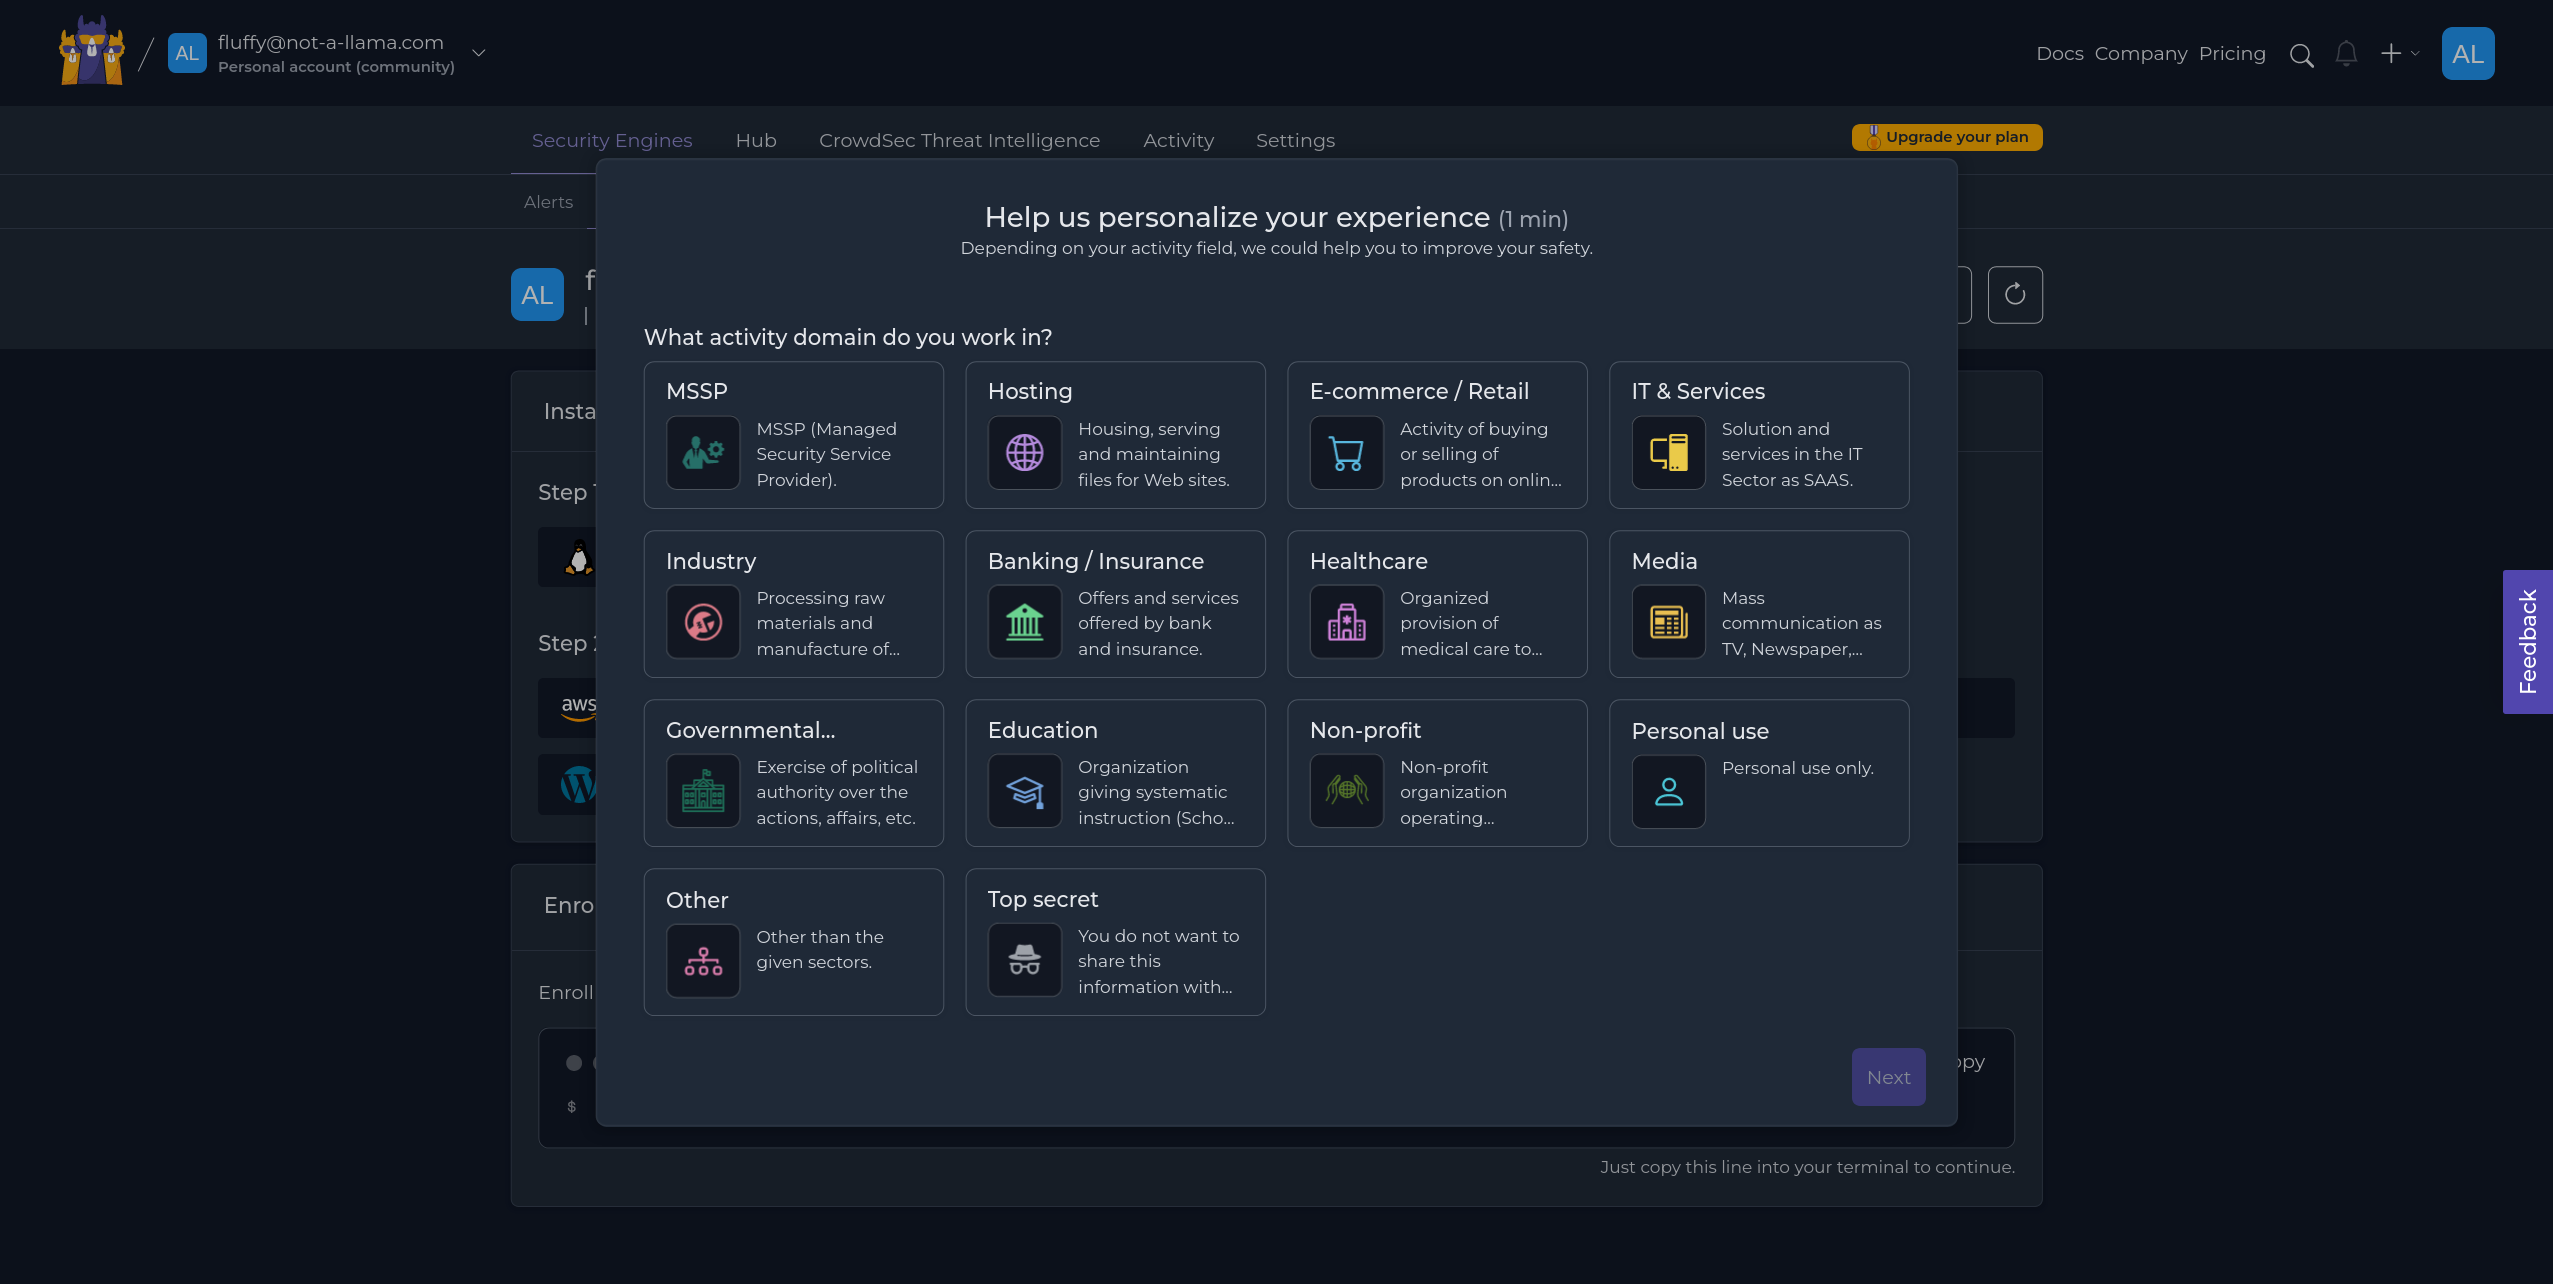
The survey is optional and you can skip it if you want. We use this information to tailor your experience and to better understand our users.
Engines page
After signing up, the first page you'll visit is the engines page. This is where you can view all your enrolled engines and check their current status.
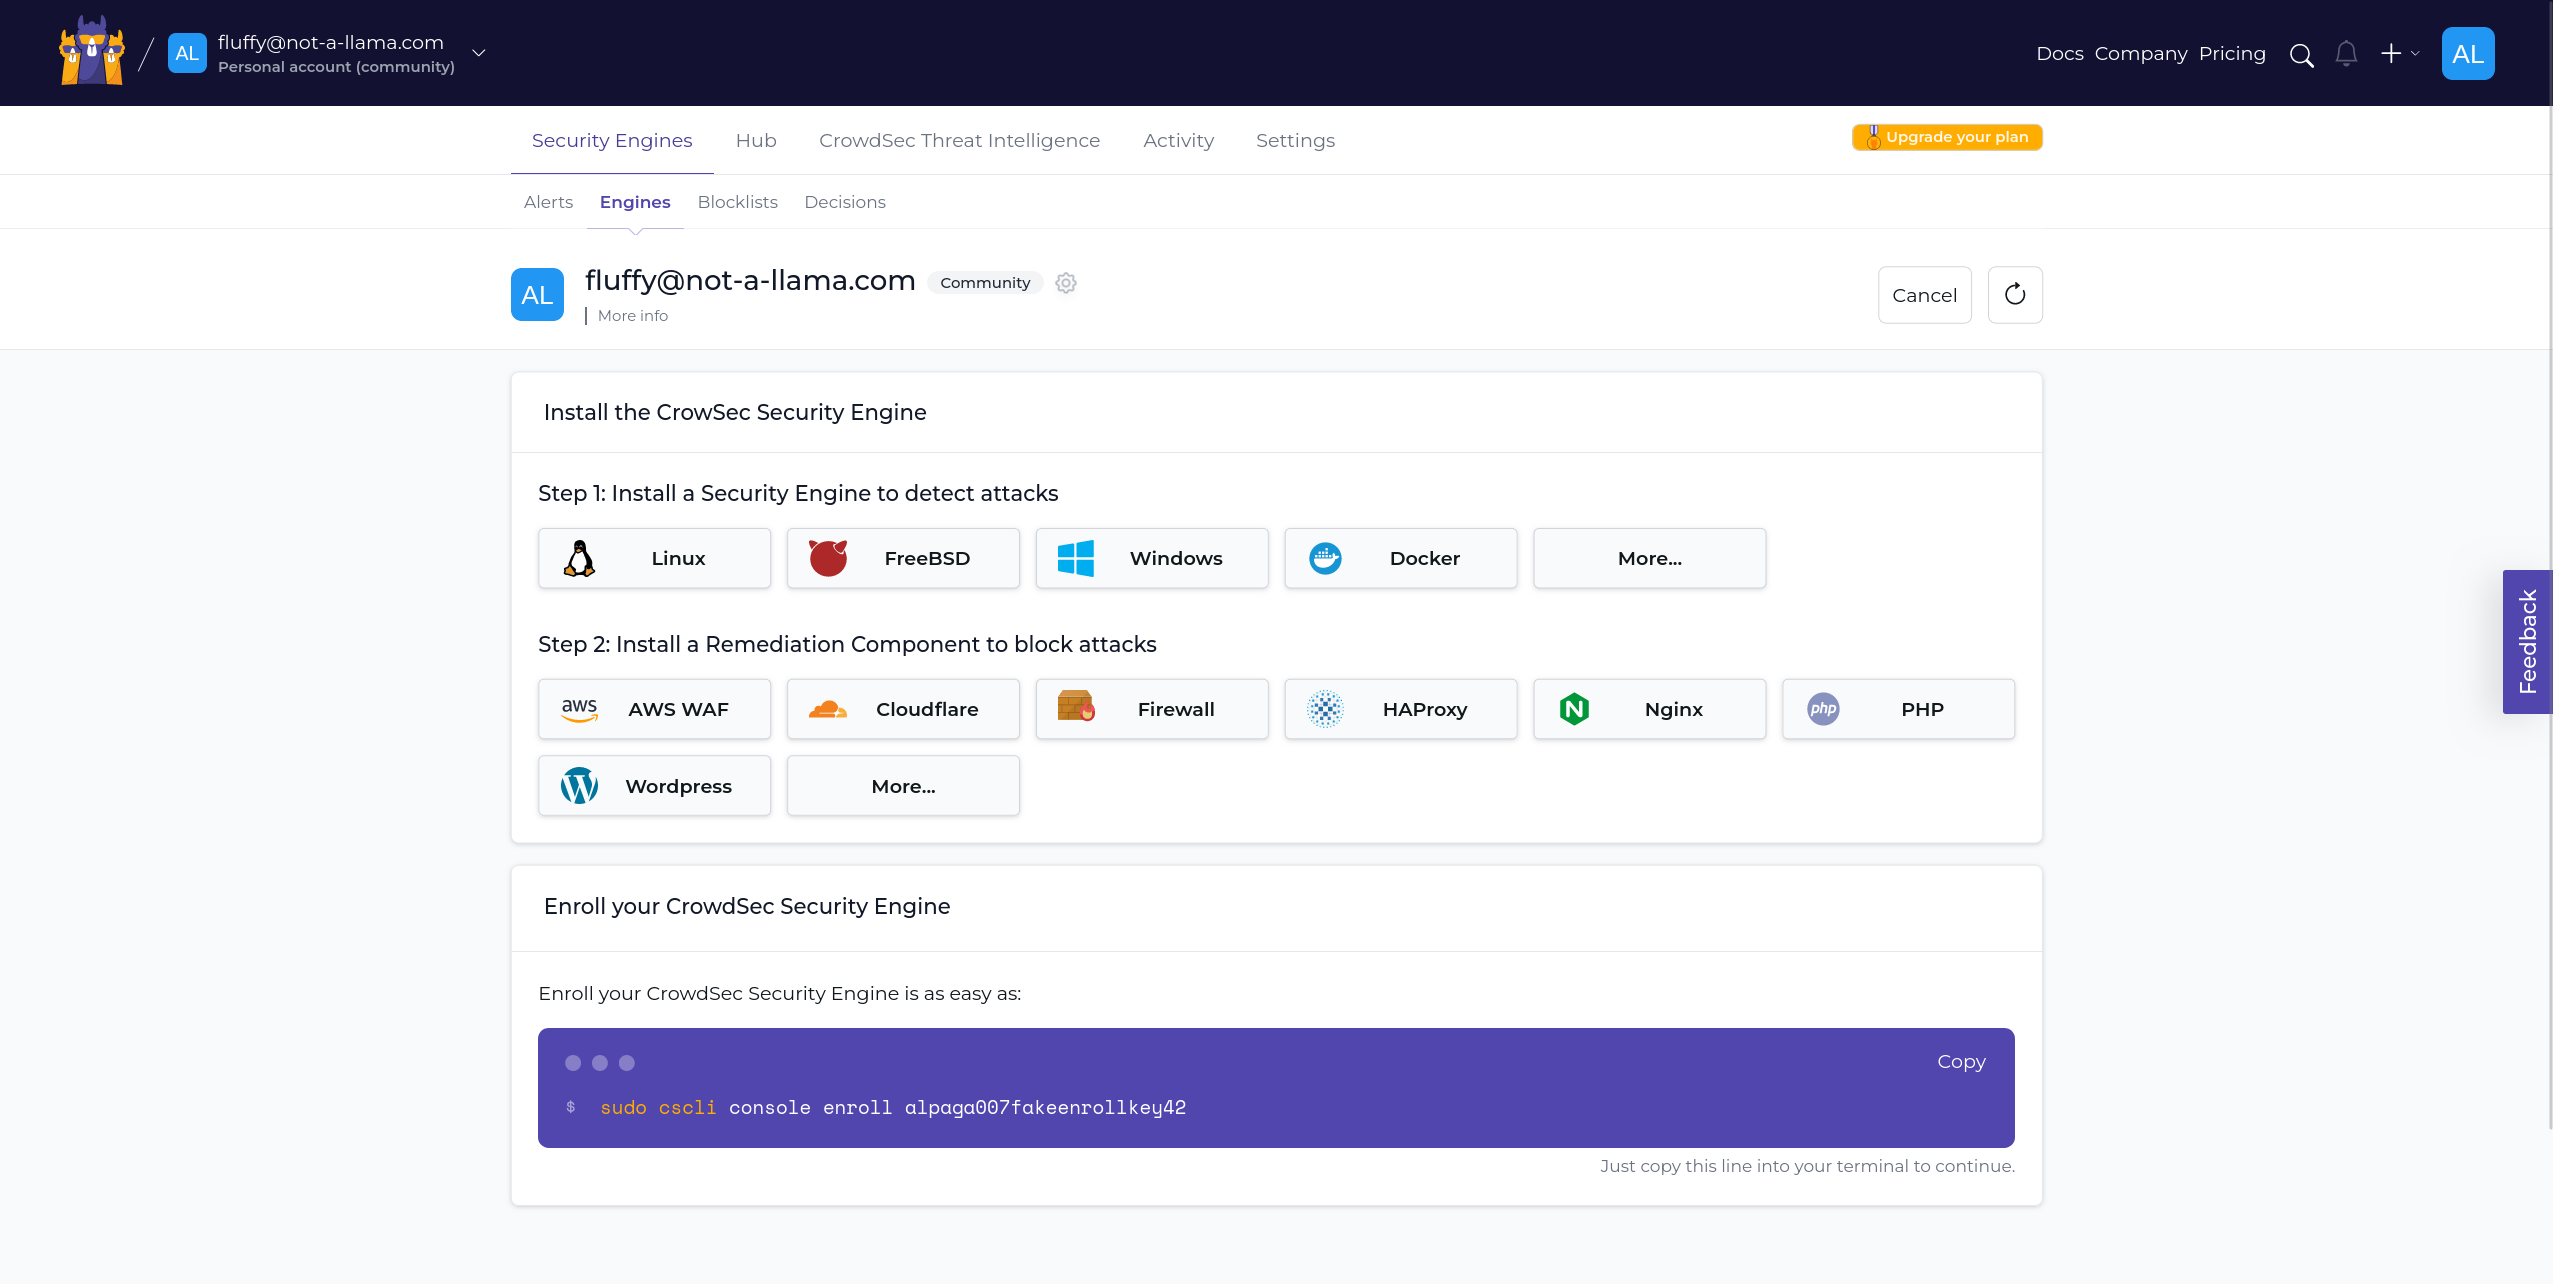
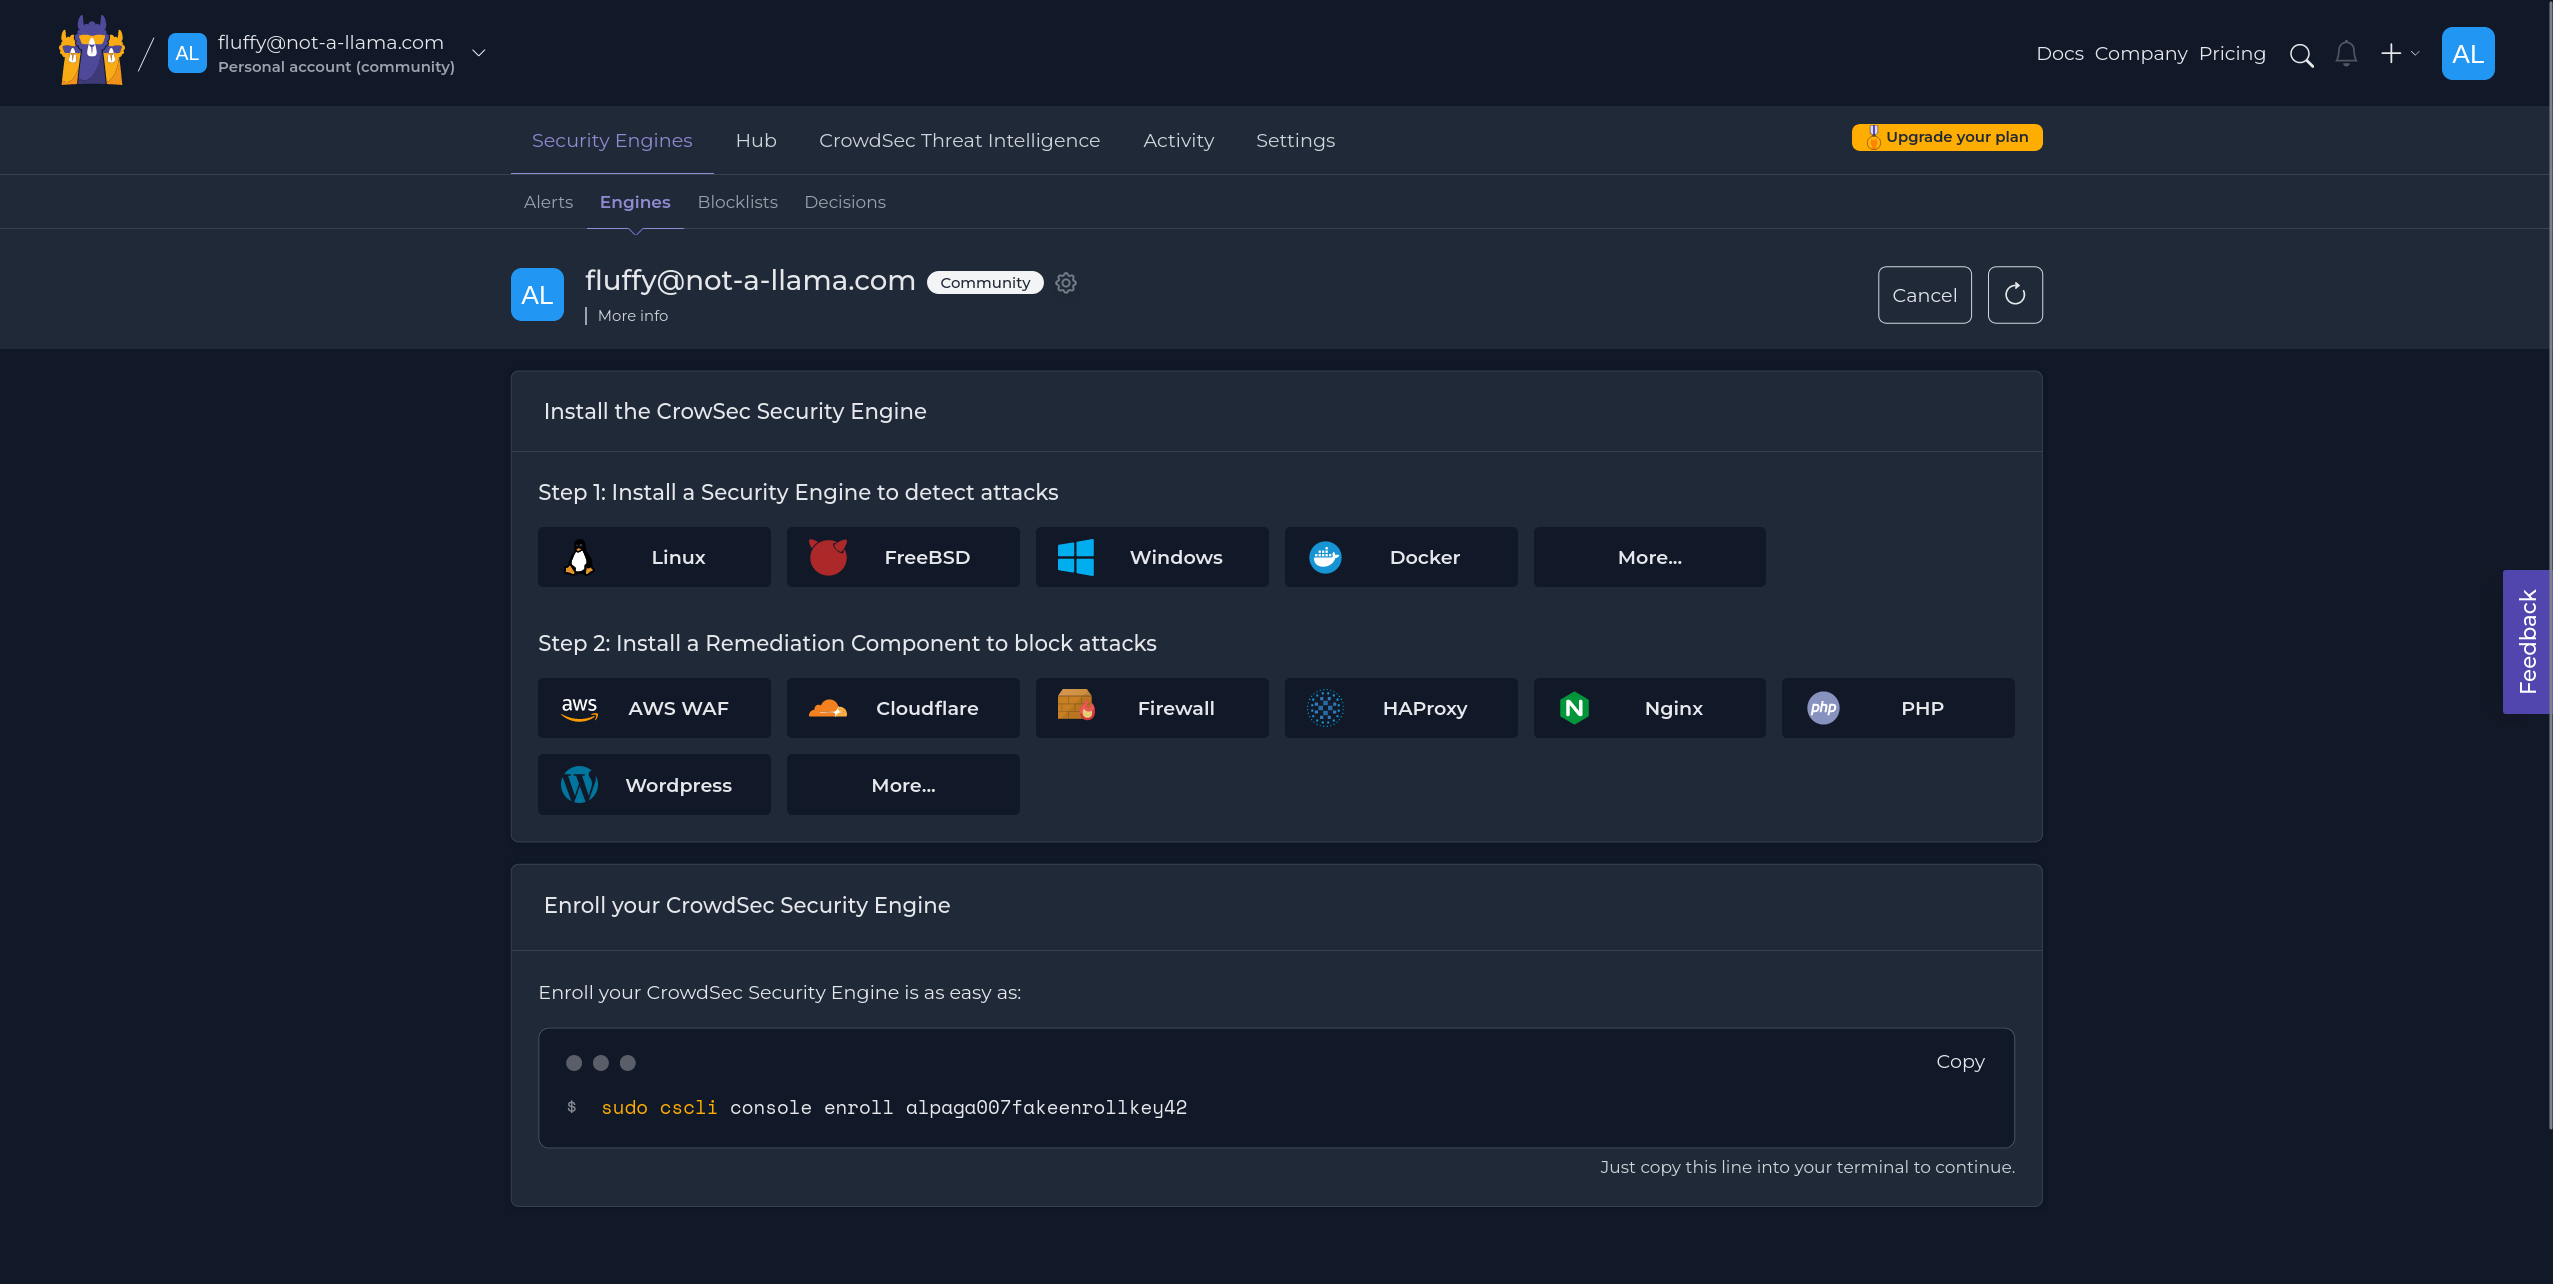
However! since this is your first enrollment, you won't see any engines yet. Let's fix that by enrolling a new engine.
At the very bottom of the page, you will see a code card with a command to run on your engine. This command will enroll it to your account.
$ENROLLMENT_KEY is a placeholder for your actual enrollment key.
- Linux/Freebsd
- Windows
- Kubernetes
sudo cscli console enroll $ENROLLMENT_KEY
cscli.exe console enroll $ENROLLMENT_KEY
# In your values.yml file
lapi:
  env:
    # To enroll the Security Engine to the console
    - name: ENROLL_KEY
      value: '{enroll-key}'
    - name: ENROLL_INSTANCE_NAME
      value: 'my-k8s-cluster'
    - name: ENROLL_TAGS
      value: 'k8s linux test'
INFO[2024-02-21T16:50:17Z] manual set to true
INFO[2024-02-21T16:50:17Z] Enabled manual : Forward manual decisions to the console
INFO[2024-02-21T16:50:17Z] Enabled tainted : Forward alerts from tainted scenarios to the console
INFO[2024-02-21T16:50:17Z] Watcher successfully enrolled. Visit https://app.crowdsec.net to accept it.
INFO[2024-02-21T16:50:17Z] Please restart crowdsec after accepting the enrollment.
If your installtion is not bare metal you can see all enrollment options here.
Accept Enrollment
Once you execute the command, a new engine will show up on the engines page. Select this new engine and click on "Accept enroll" to proceed.
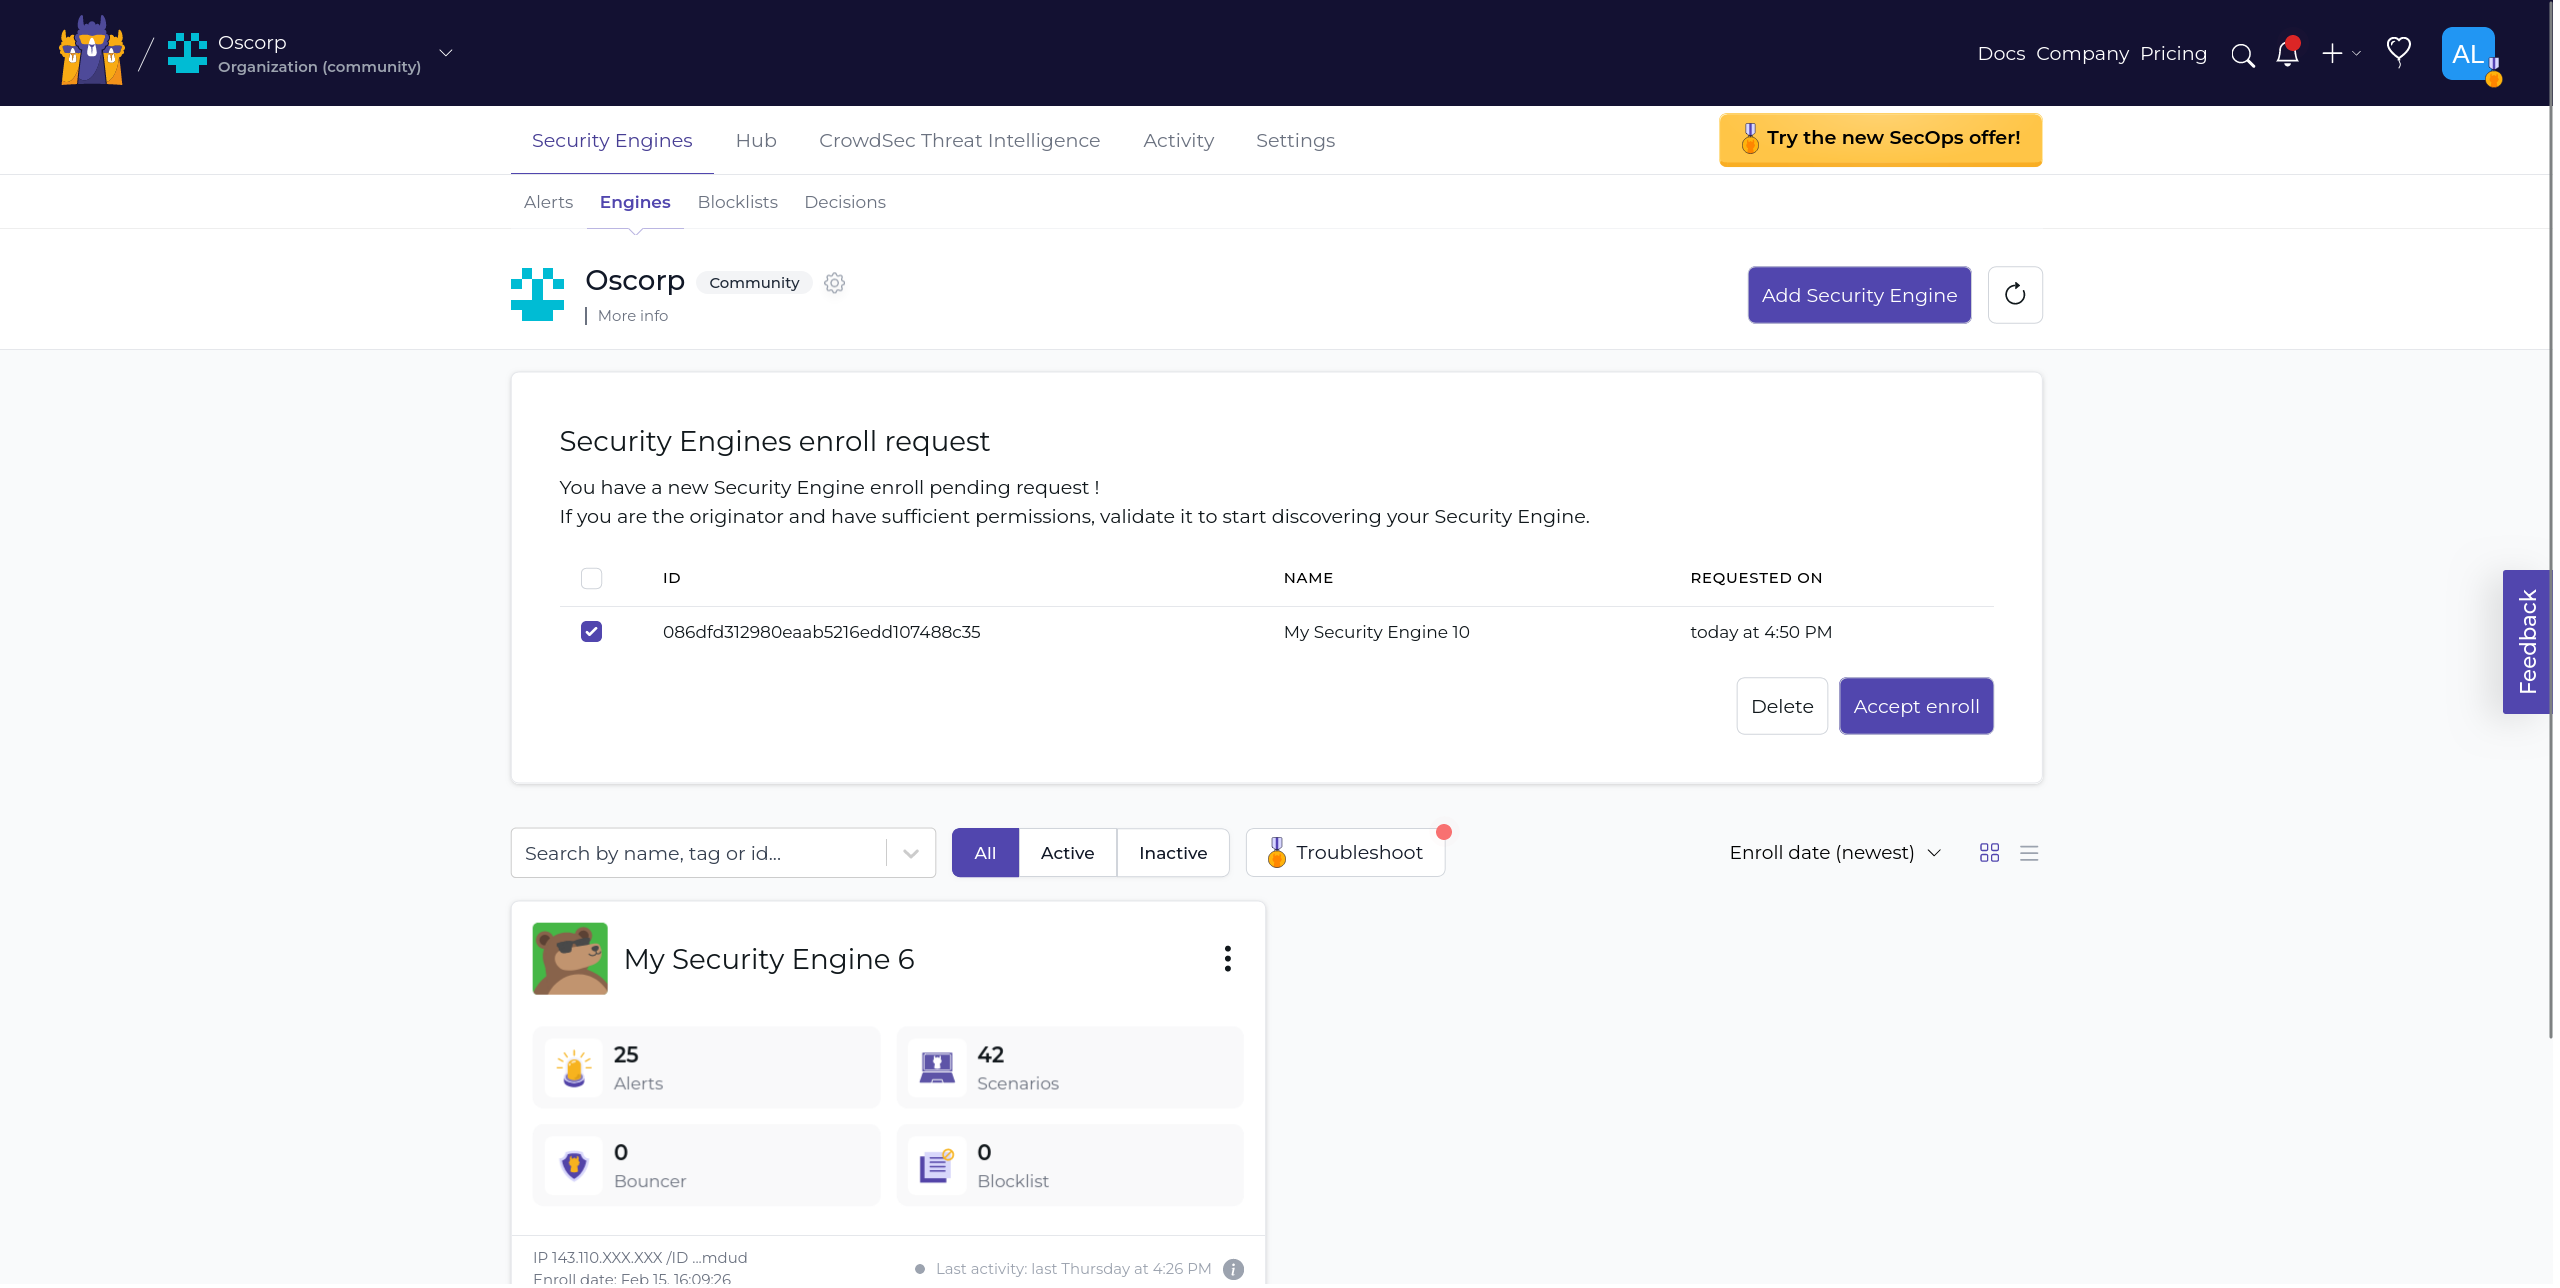
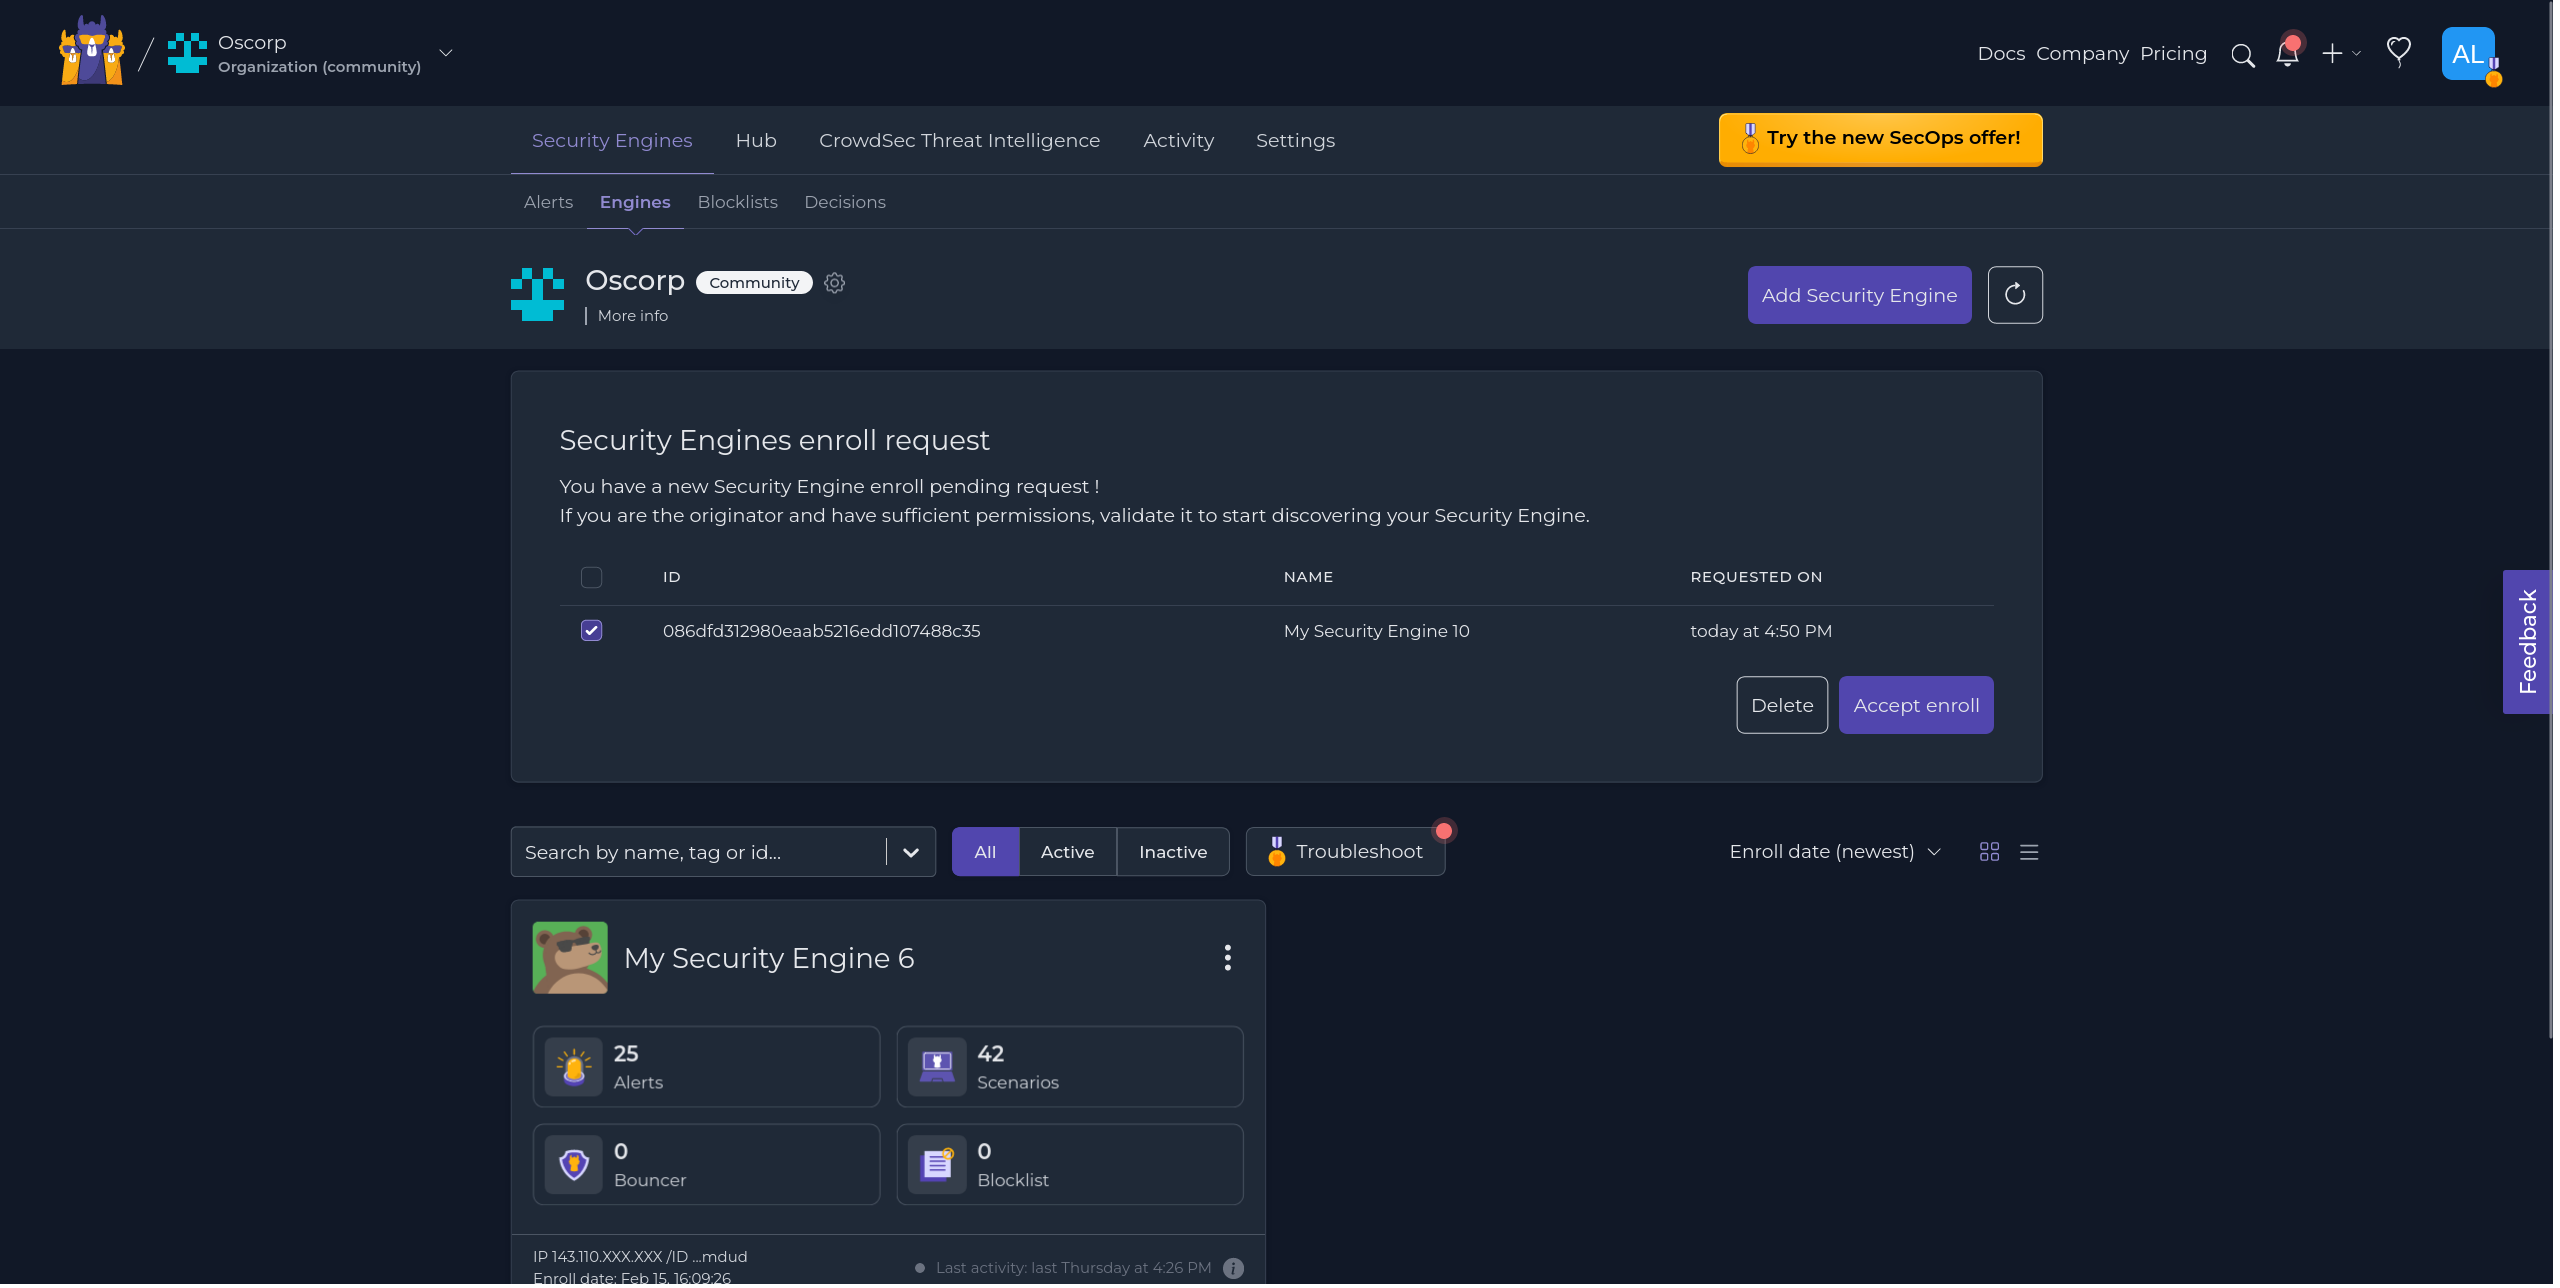
If you don't see the engine appear, you can use the refresh button at the right of the page near "Add Security Engine".
Restart CrowdSec
After accepting the enrollment, you will need to restart the CrowdSec service.
- Linux/Freebsd
- Windows
- Kubernetes
sudo systemctl restart crowdsec
Restart-Service crowdsec
kubectl delete pod -n crowdsec crowdsec-lapi-*
While it's not critical to restart the service right away, it's advisable to do so at your earliest convenience to make sure all metadata is fully synchronized.
Next Steps?
Now that you have enrolled your first engine, you can start exploring the console and its features. Here are a few things you can do next:
If not head back to the post installation steps to follow the rest of the steps.

